To install Prizm Document Converter, follow these steps:
- Start the installer from any location on your system.
- Click the Next button to continue.

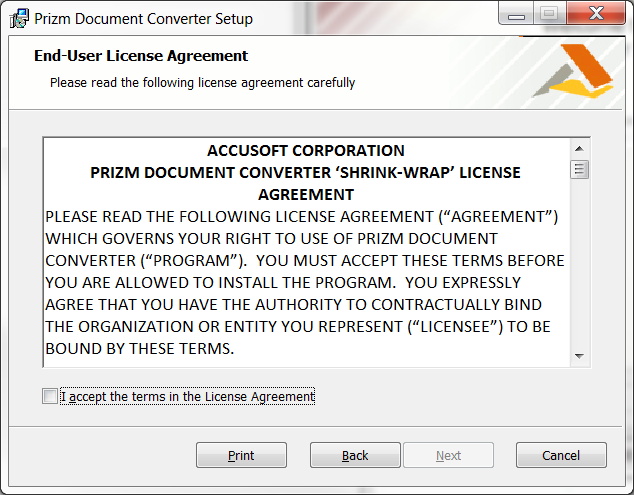
- Carefully read the information contained in the License Agreement form before making a decision to accept the terms of the agreement. Choose I accept the terms in the License Agreement to accept the conditions outlined in the License Agreement and then click the Next button to continue the installation, or click Cancel to exit the installation process.
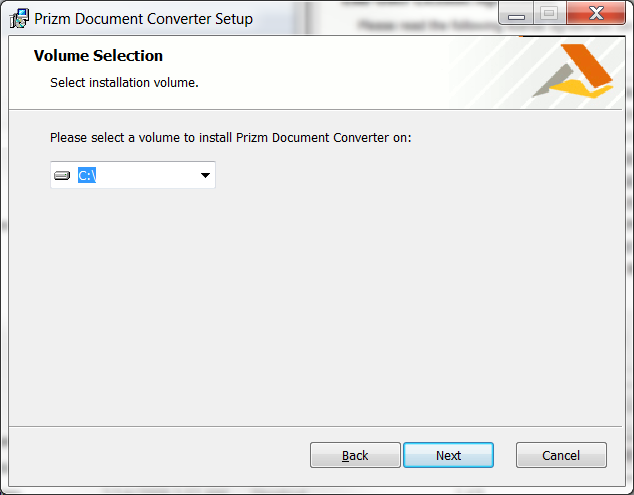
- After clicking Next, the Volume Selection form is displayed. Specify the destination volume where the Prizm Document Converter product should be installed or choose the default installation destination volume. Then click Next.
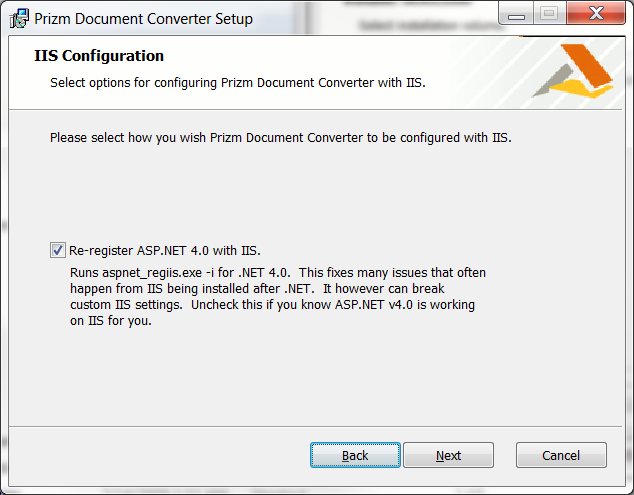
- The IIS Configuration dialog allows you to determine how the installer will update IIS to run PDC:
This option allows you to register ASP.NET 4.0 with IIS. The Prizm Document Converter Services require ASP.NET 4.0 to function. If ASP.NET is already configured, this will not undo any current configurations. Once you have made your selections, click Next to move forward with the installation.
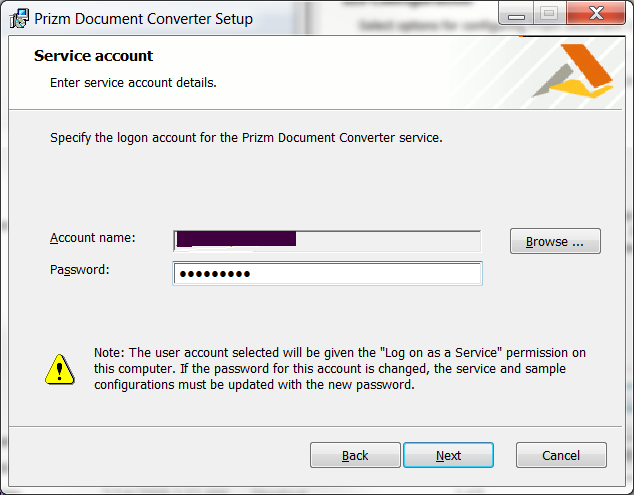
- The next step in the installation process allows you to define the account that will be used to run the Prizm Service that is installed on the system. The dialog will default to the user running the installation, but you can enter in a user name or use the Browse button to select a user from the local system or domain. Once a user has been selected, the password for the user account will need to be entered into the dialog.
 |
The user account specified will be given the “Log on as a Service” permission. This permission is required in order for a user account to be used as the service account. |
Once you have entered in all of the appropriate information, click Next to continue. If the password is not correct, an error dialog will be displayed noting that the password is not correct.
- The Ready to Install Prizm Document Converter dialog is the final configuration dialog that launches the installation process. To install the product with the defined settings, click the Install button.
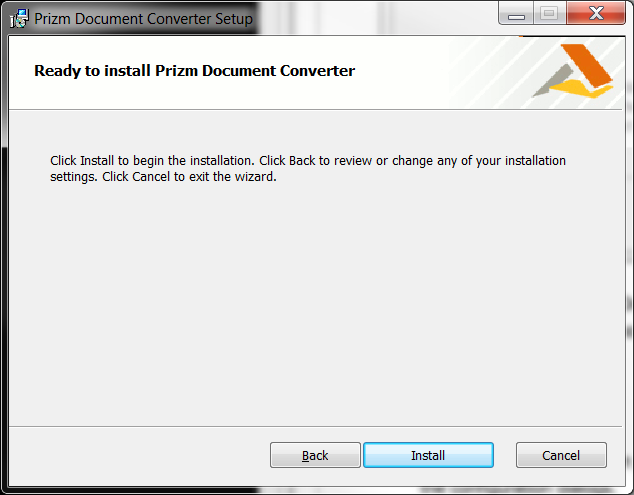
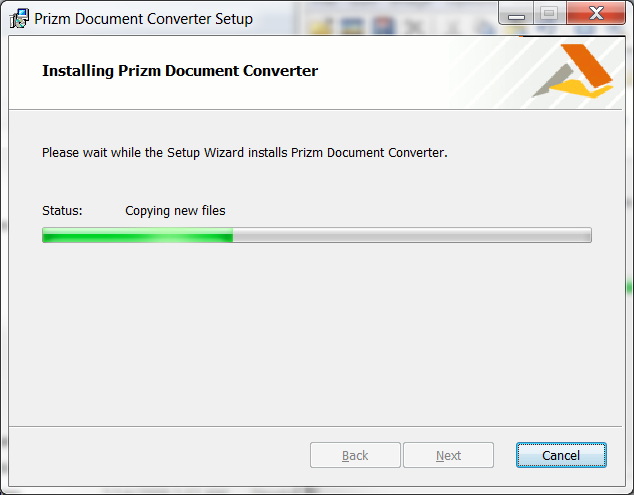
- The Installer will unpack the product, and lay out and configure the product as defined in the configuration dialogs.
- About three-quarters of the way through the installation, the installer will launch the Prizm Licensing Utility. Follow the steps outlined in this utility to license the product for use. Please refer to the Prizm Licensing Utility instructions for help on obtaining a license.
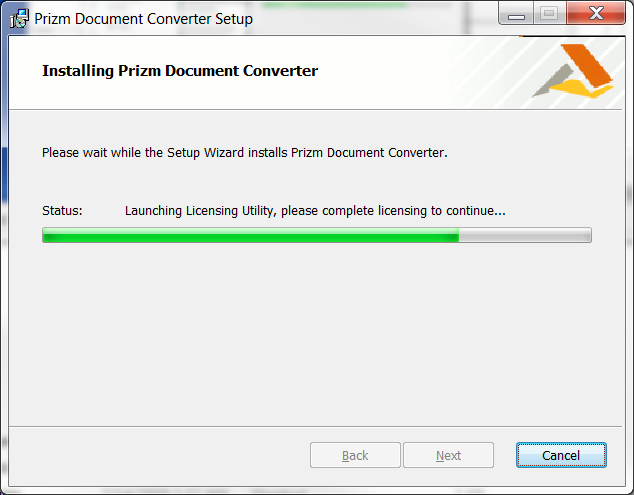
- After the Prizm Licensing Utility completes, the installer will continue setting up your system with Prizm Document Converter. Once the configuration is completed, a dialog will notify you that the installation is complete.
- Select Show Release Notes to automatically view the product Release Notes after the installation.
- Select Launch Admin Page to automatically view the status of the Prizm Platform Services after the installation. This Admin Page is available at any time under Prizm on the Start menu or by navigating to http://localhost:18681/admin in the browser.
- Click Finish to complete the installation and exit the Installer.


